Ubuntu: Virtual Box Set-up, Install, USB and Share Drive
Hello,
I talked in one of the earlier posts about trying ubuntu on a virtual machine to make sure that it could run in your machine. I woke up one day and I deleted my windows, But I needed to able to run certain software.
WINE, is a software that allows you to run windows applications, but not a the level I needed it to be done.
There are 2 main virtual machine softwares out there. Vmware and Virtual Box, people claim on most blogs that Vmware is the best. I decided to get virtual box because it didn't make me go through a very tideous registration process.
How to get Virtual Box? you can get it from its official Download website You should download it according to the System you are presently running, so you select UBUNTU if your system is ubuntu.
Follow the following instructions for the install, the versions may differ, go to this website for current formation
* Debian-based Linux distributions: Add one of the following lines according to your distribution to your /etc/apt/sources.list:</p>deb http://download.virtualbox.org/virtualbox/debian intrepid non-free
The Sun public key for apt-secure can be downloaded here. You can add this key with
sudo apt-key add sun_vbox.asc
or combine downloading and registering:
wget -q http://download.virtualbox.org/virtualbox/debian/sun_vbox.asc -O- | sudo apt-key add -
The key fingerprint is
AF45 1228 01DA D613 29EF 9570 DCF9 F87B 6DFB CBAE
Sun Microsystems, Inc. (xVM VirtualBox archive signing key)To install VirtualBox, do
apt-get install virtualbox-2.1
Replace virtualbox-2.1 by virtualbox to install VirtualBox 1.6.6, or replace it by virtualbox-2.0 to install VirtualBox 2.0.6.
Note: Ubuntu users might want to install the dkms package (not available on Debian) to ensure that the VirtualBox host kernel modules (vboxdrv and vboxnetflt) are properly updated if the linux kernel version changes during the next apt-get upgrade.
So far never heard of someone having troubles with the installation. So you should technically be fine after install.
Once the install is completed, you can go ahead and create a virtual machine, the procedures for this are pretty much self explanatory. It will ask you to assign, some ram space, and some local hard drive space, please be reasonable with those. You need to have the cd or the ISO for the OS you trying to Install. for more info (this GUIDE) is helpful.
This post was written for Jaunty, and instructions worked for Karmic, Here is the Ubuntu Community Virtual Box post that is up to date on how to add the USB, and Guest additions, or other things that i've mentioned in this post.
INSTALL THE GUEST ADDITIONS: haven't had the chance of exploring the full power of this option, but it comes in pretty handy. To install it, when you start up your virtual machine, got to Devices then Install the Guest Additions.
ENABLING USB
Add yourself to the VBOXUSERS
1- Go to Menu > System > Administration > Users and Groups
2- Select your account and click on Unlock
3- Then Click on Manage Groups then go to Vboxusers then click on properties
4- check your user name and the root profiles</p>
THEN
Edit the permissions manually (this works for Jaunty and Intrepid)
gksudo gedit /etc/init.d/mountdevsubfs.sh</p>
inside that file, right before the do Start() { } ends, paste in the following
# Magic to make /proc/bus/usb work</p>mkdir -p /dev/bus/usb/.usbfs
domount usbfs "" /dev/bus/usb/.usbfs usbfs -obusmode=0700,devmode=0600,listmode=0644
ln -s .usbfs/devices /dev/bus/usb/devices
mount --rbind /dev/bus/usb /proc/bus/usb
NEW INSTRUCTIONS FOR KARMIC
1.Open up VirtualBox,select the virtual machine and click on Settings.Then select USB in left and check the two checkboxes.</p>2.Open up terminal(Applications->Accessories->Terminal).Create usb group and add current user to the group:
sudo groupadd usbfs
sudo adduser your_username_here usbfs
</div> </div>
3.Use this command,and you will get group id:
cat /etc/group | grep usbfs</div> </div>
Example of output:
usbfs:x:1001:wraith</div> </div>
Here,1001 is the group id.
4.Edit /etc/fstab by this command:sudo gedit /etc/fstab</div> </div>
Add this line in the bottom.
none /proc/bus/usb usbfs devgid=1001,devmode=664 0 0</div> </div>
Here 1001 is the group id in step 3.
</blockquote>5.Run following command:
sudo chmod 777 /proc/bus/usb</div> </div>
Restart your computer.
</blockquote>SHARING LOCAL FILES
FIRST
Go to the Virtual Box, click on the virtual machine, then click on Settings, then on shared folder and Add the location of the file you trying to share.OR YOU COULD DO IT MANUALLY BY
mkdir ~/VirtualBoxShare
VBoxManage sharedfolder add "XP" -name "share" -hostpath /home/your/shared/folder/VirtualBoxShare/</p>Where "XP" is the name of the virtual machine in VirtualBox, and "share" is the name of the share as the guest machine will see it. The hostpath must be a fully-qualified path.
THEN
On the Windows client, run</p>net use x: \\vboxsvr\share
If the client is Linux, run
mount -t vboxfs share mountpoint
For the above command if you get error as
mount: unknown filesystem type 'vboxfs'
Then just change the vboxfs to vboxsf means the command will be
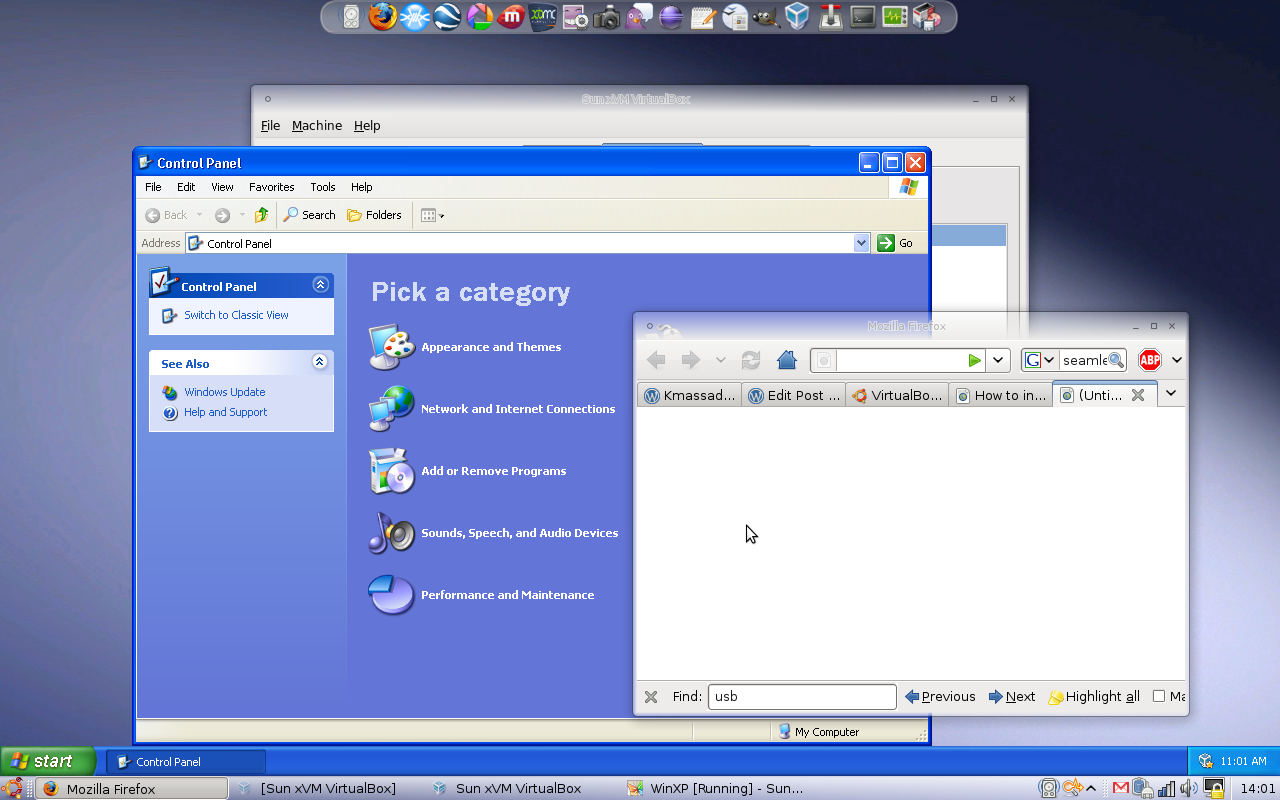
mount -t vboxsf share mountpointSEAMLESS MODE
There is something call seemless mode that you can enable when your Guest additions are well configured. It integrate the virtual with the host. Look at the screen shot bellow